Configuration Change Templates in icom Router Management permit to roll out customised configurations for each router.
The icom Router Management for all router models based on icom OS permits roll-outs of device firmware, configurations, security certificates and applications.
Situation
You have a number of routers in the field to which you want to roll out a router-specific configuration together in one operation in the icom Router Management.
You may want to update the configuration of all routers with individual location data for each router, for example.
The use case is exemplary and can be used for any configuration options.
Solution
Add custom fields for individual variables in the icom Router Management. Fill these fields for each router with its individual data. Create a config change template that generates an individual configuration file for each router, retrieving the individual values from its custom fields. Apply the config change template to the router(s).
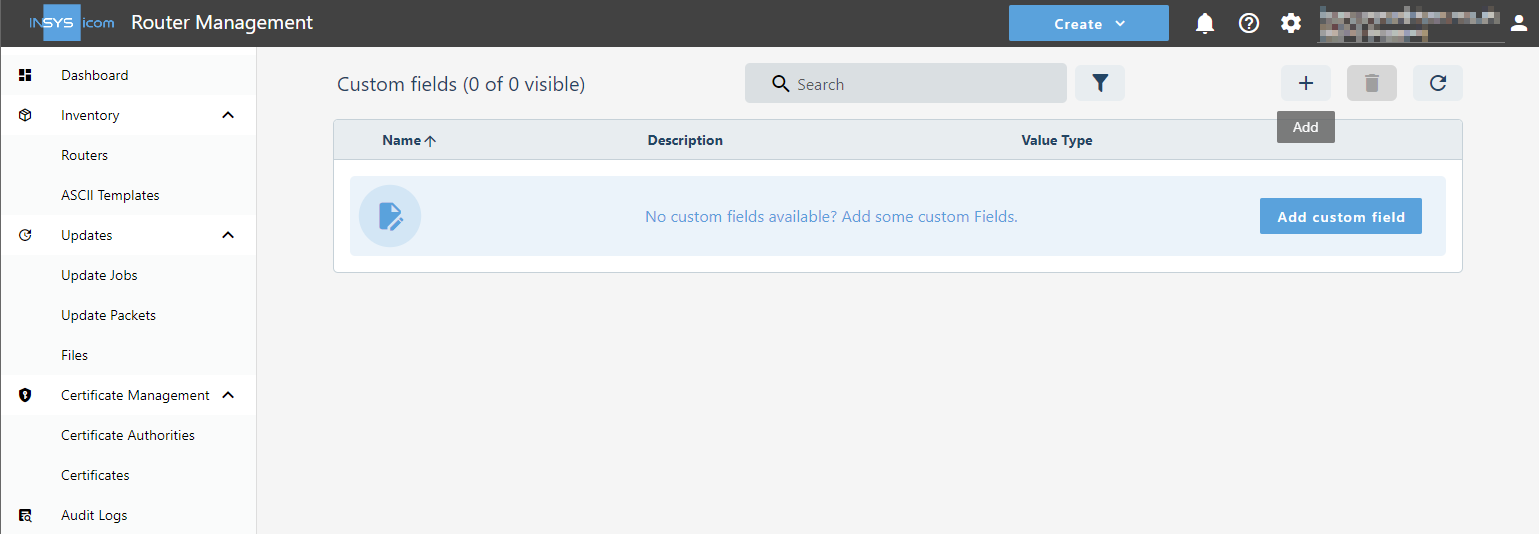
Adding custom fields
Add custom fields that you can fill with individual data for each router. In this example, these are fields for the town, the street and the house number, which will then be used to compose the location.
-
Log in to the icom Router Management.
-
Click on
 Settings →
  Custom fields in the title bar and select
  Add
Add
-
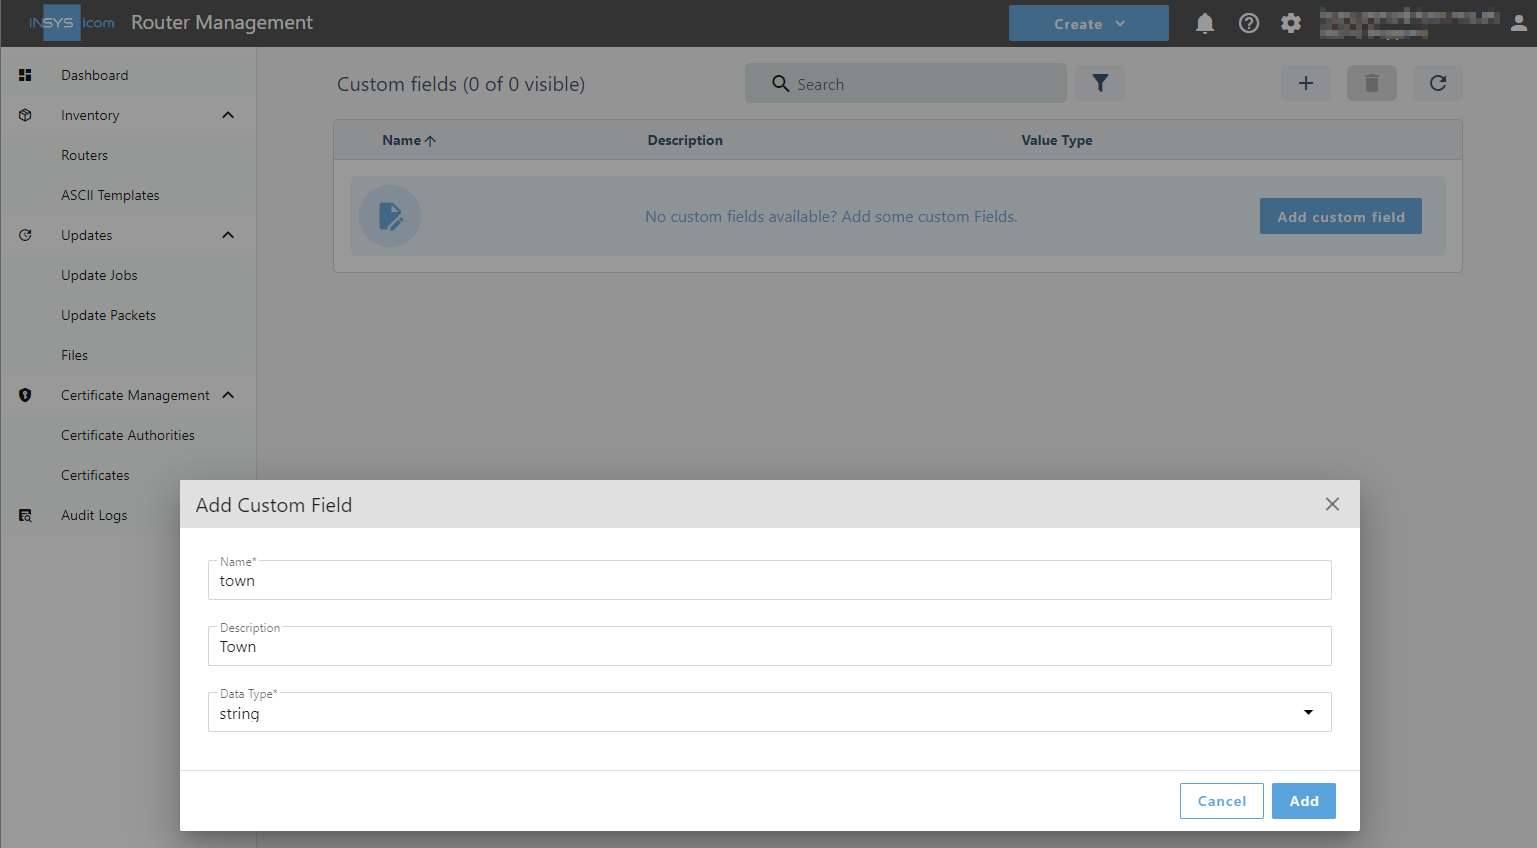
Enter the Name of the custom field, e.g. town.
-
Enter an optional Description of the new custom field, e.g. Town.
-
Click on Add .
-
Add two more custom fields for the street and house number as follows.
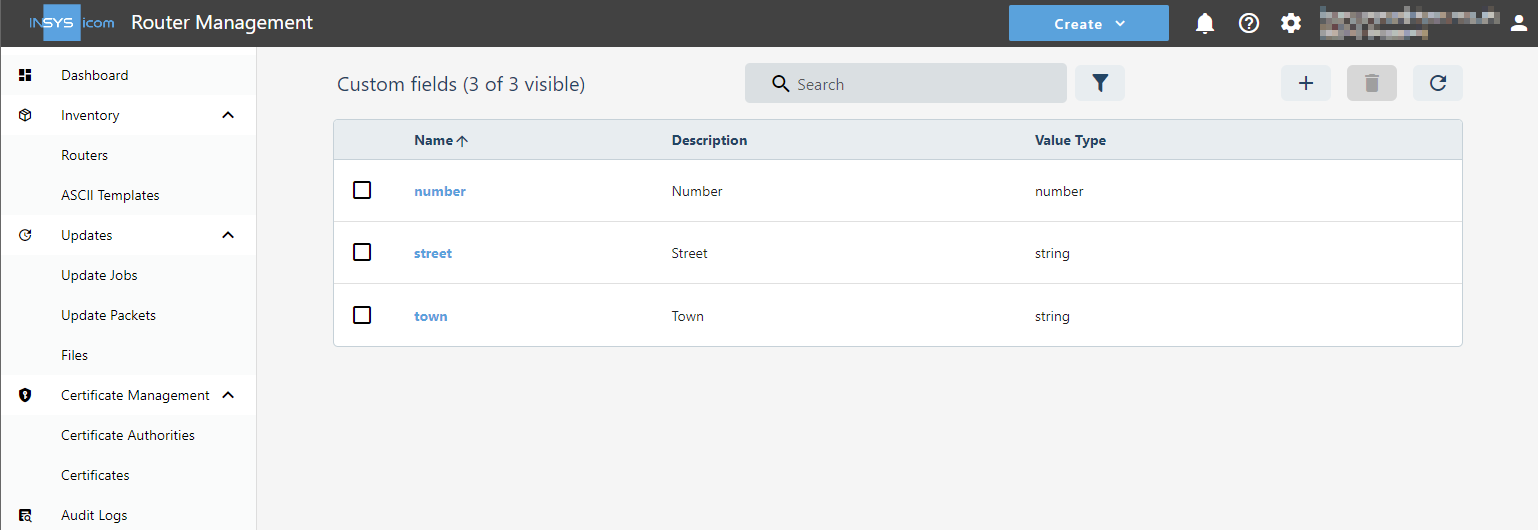
You have added the custom fields for the description of the location with this.
Entering the location data of the router(s) into the custom fields
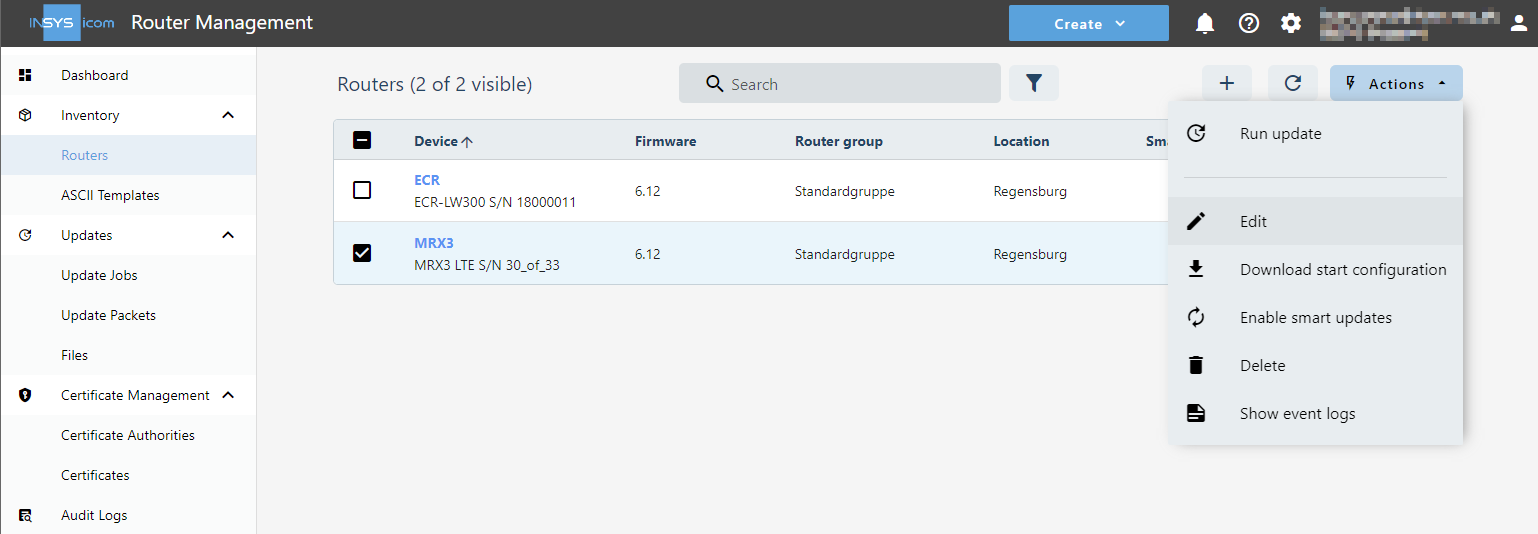
Enter the detailed data of the location for each router.
-
Check on the
 Inventory → Routers page the router you want to edit and click under
  Actions on
  Edit .
-
Change to the Custom Fields tab and enter the desired location data in the respective custom field.
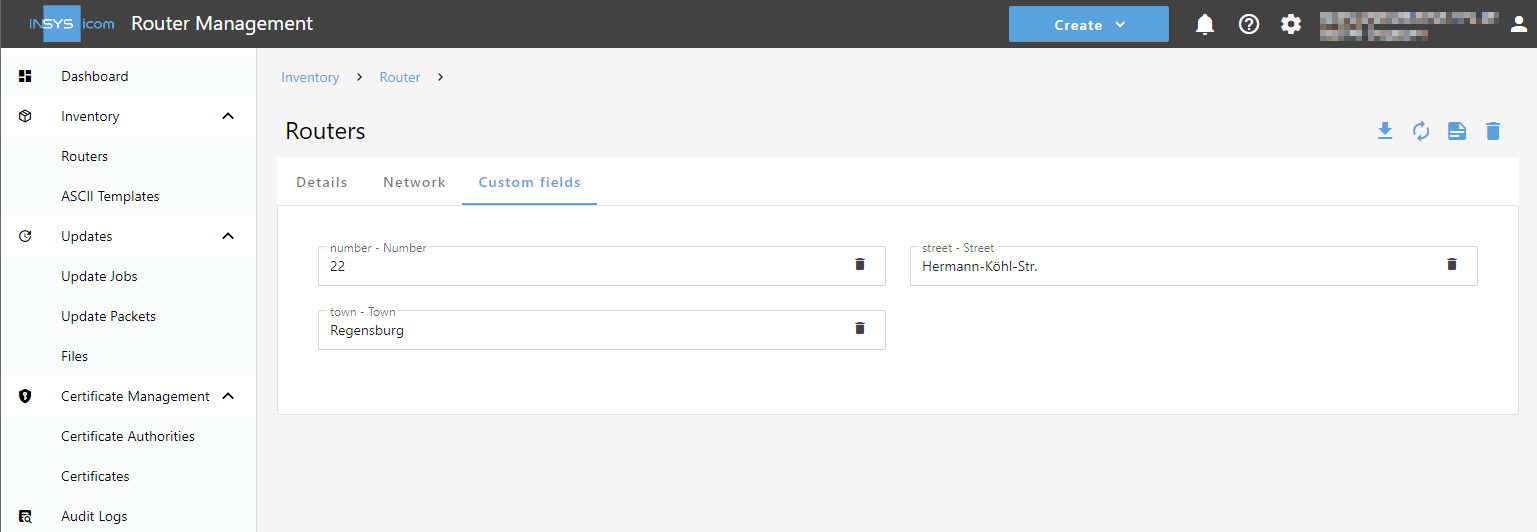
-
Click on Save .
You have entered the location data for this router with this. Proceed in the same way for further routers.
Creating the config change template
Create a config change template that composes the exact location of each router from the data entered for it and then writes it to the router.
-
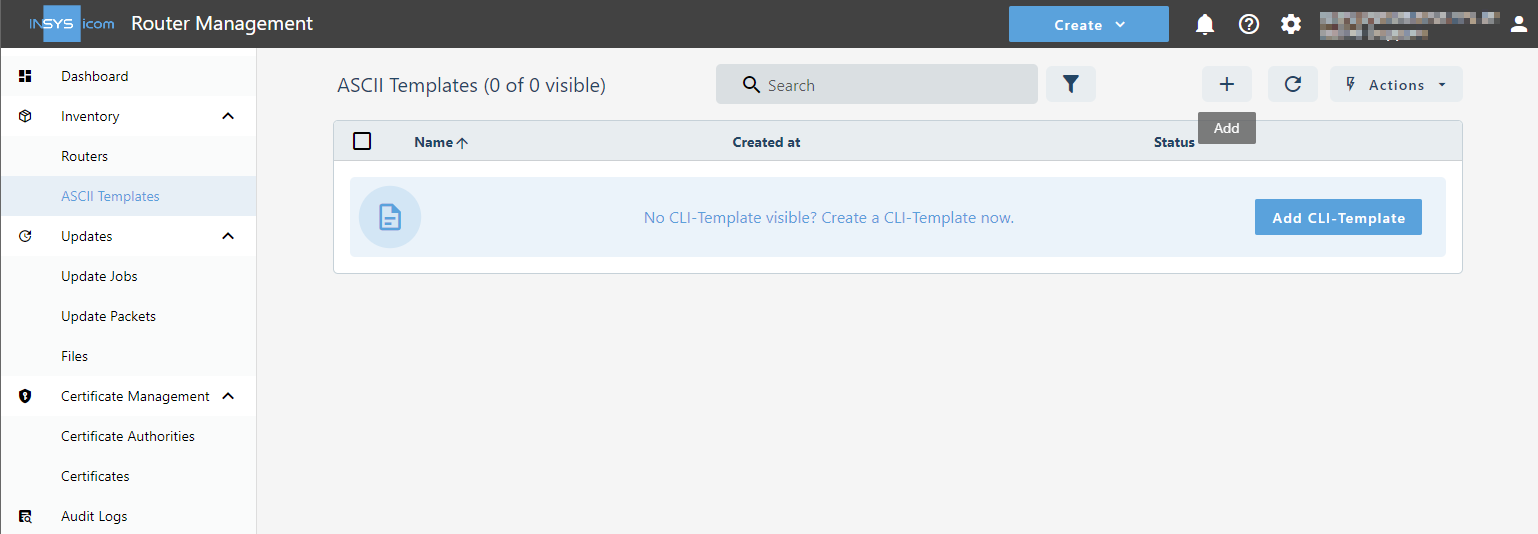
Select on the
Inventory → ASCII Templates page Add.
-
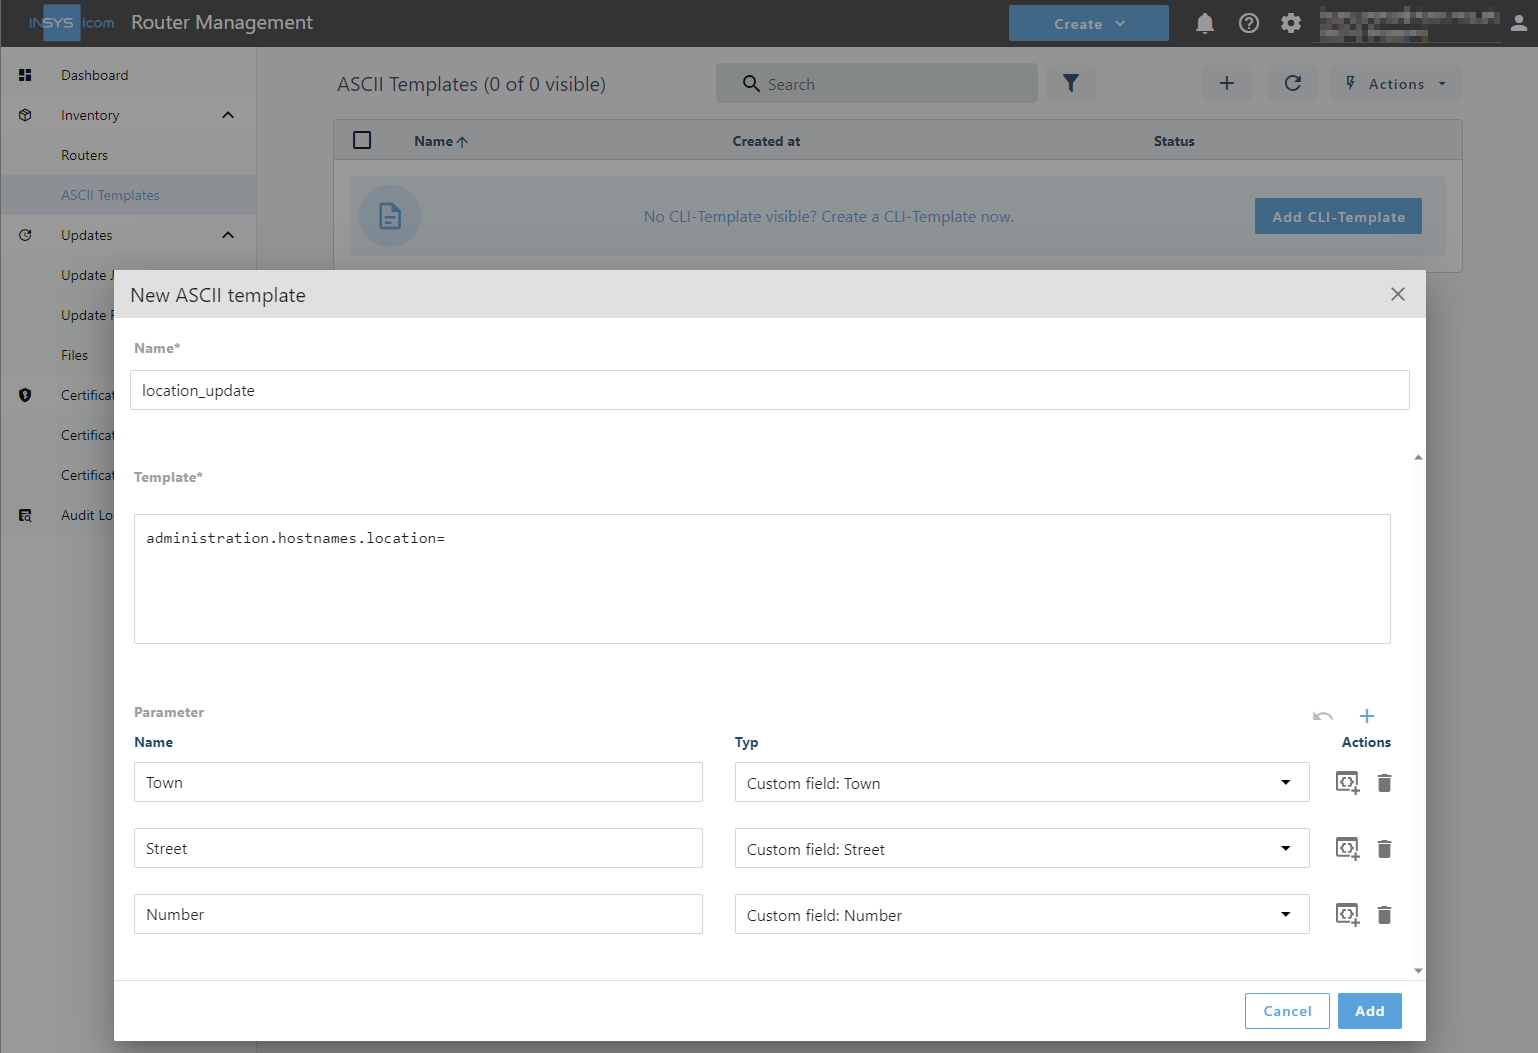
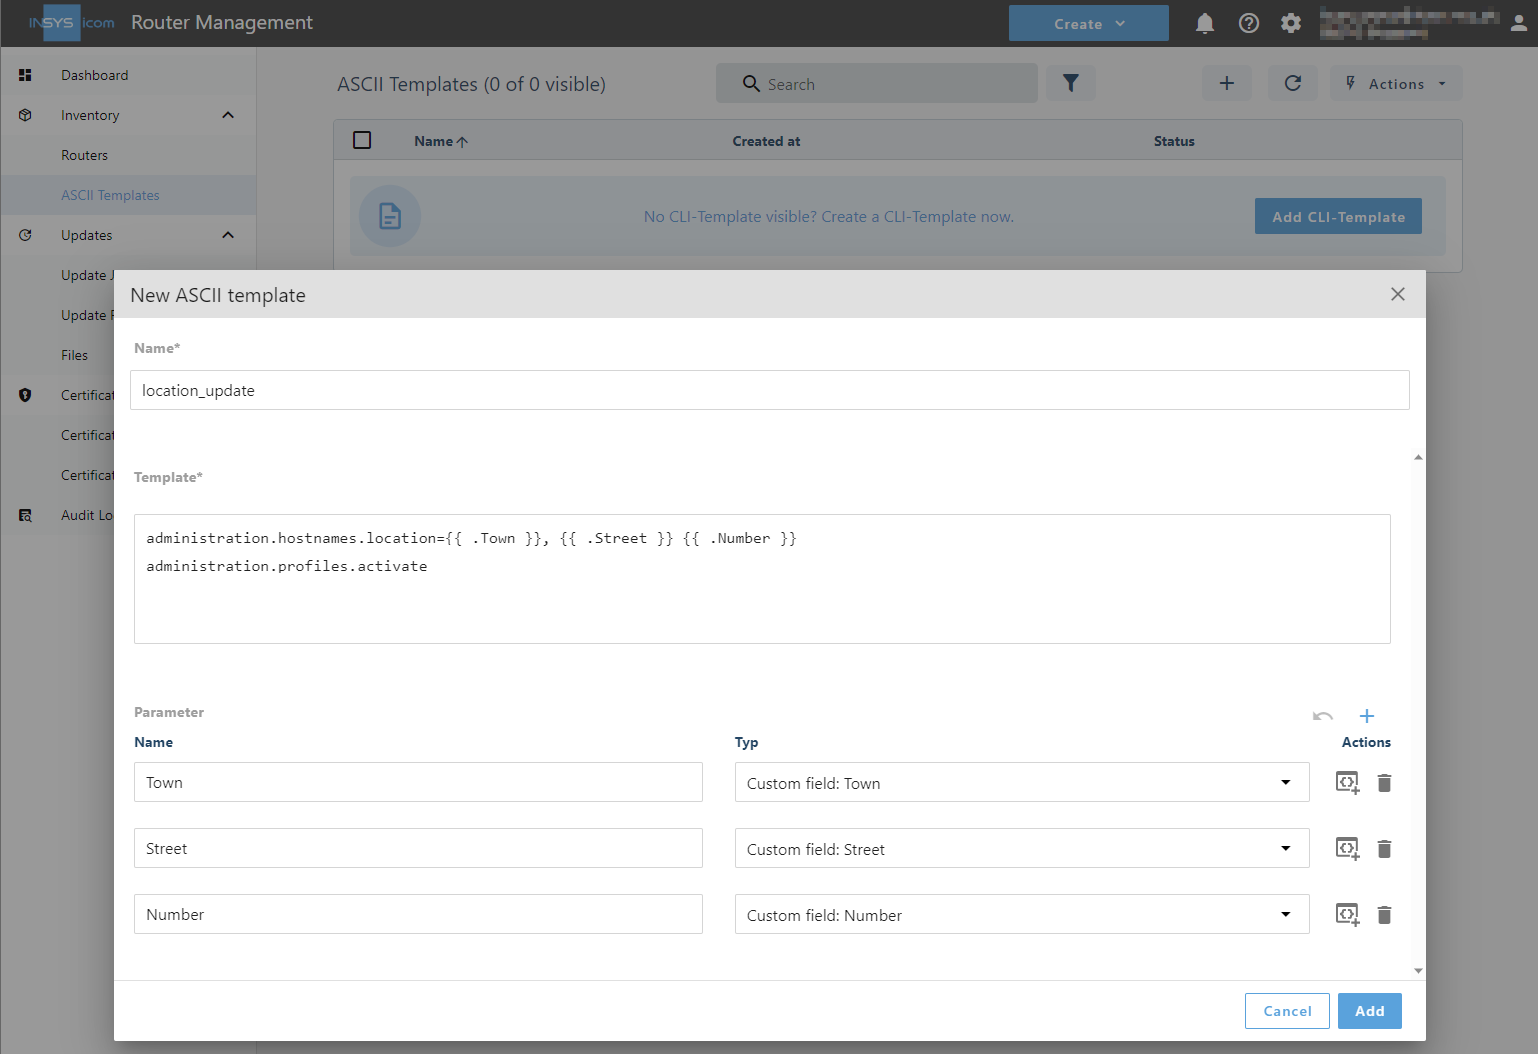
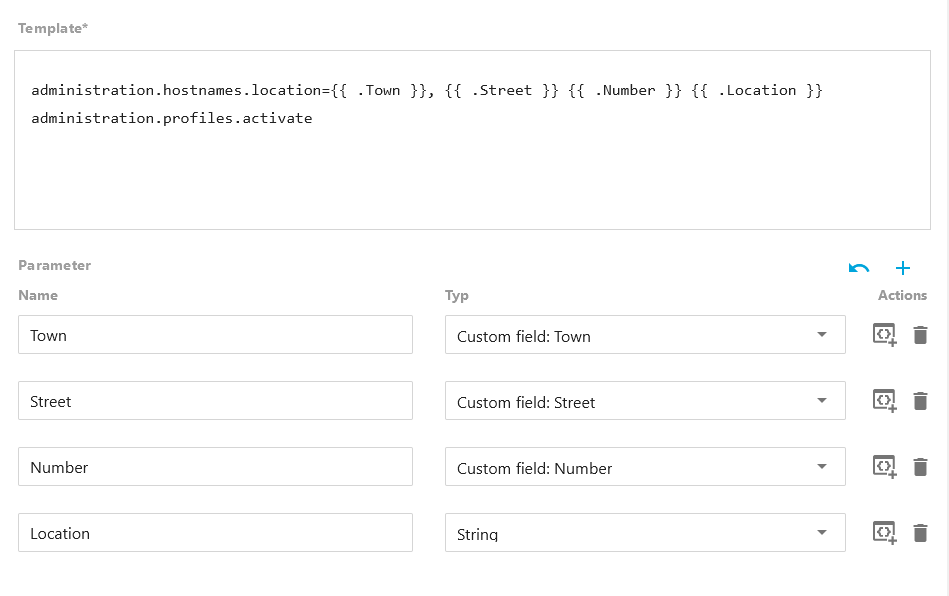
Enter the Name the config change template, e.g. location_update.
-
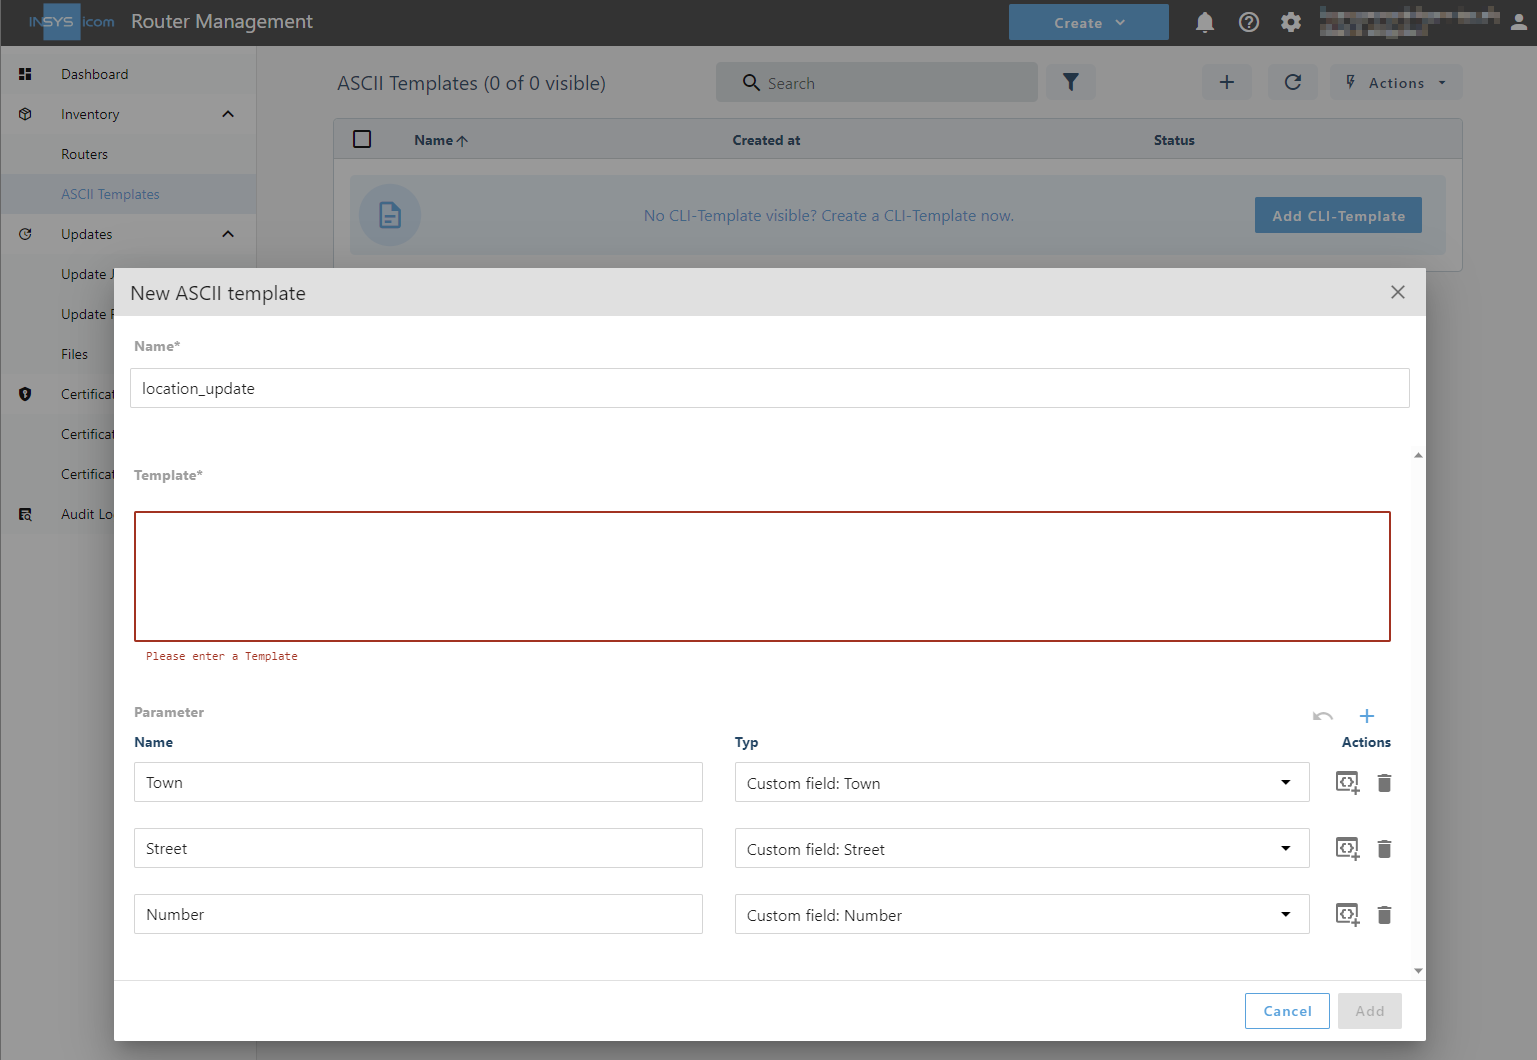
Enter in the right field a Name for the parameter, e. g. Town, and select for the new parameter the custom field Town from the Type drop-down list.
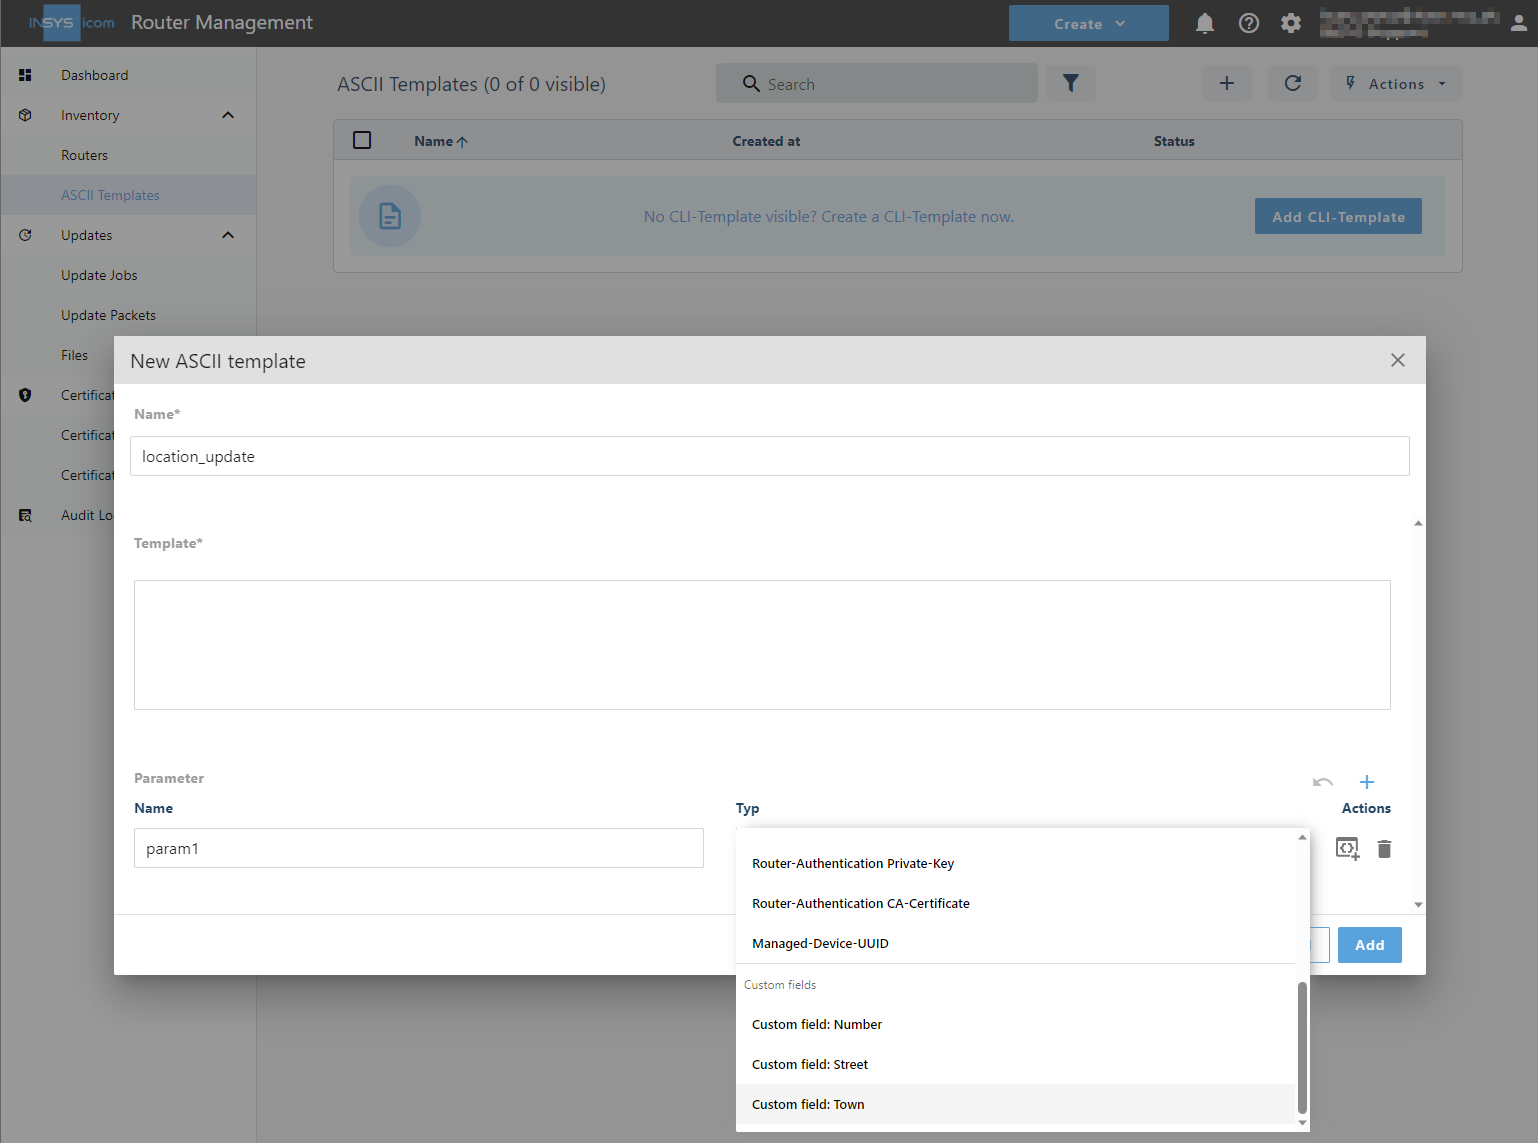
-
Click on Add new parameter and enter two further parameters for street and number as follows. [1]
-
Enter in the editor on the left the CLI command for setting the location
administration.hostnames.location=.
-
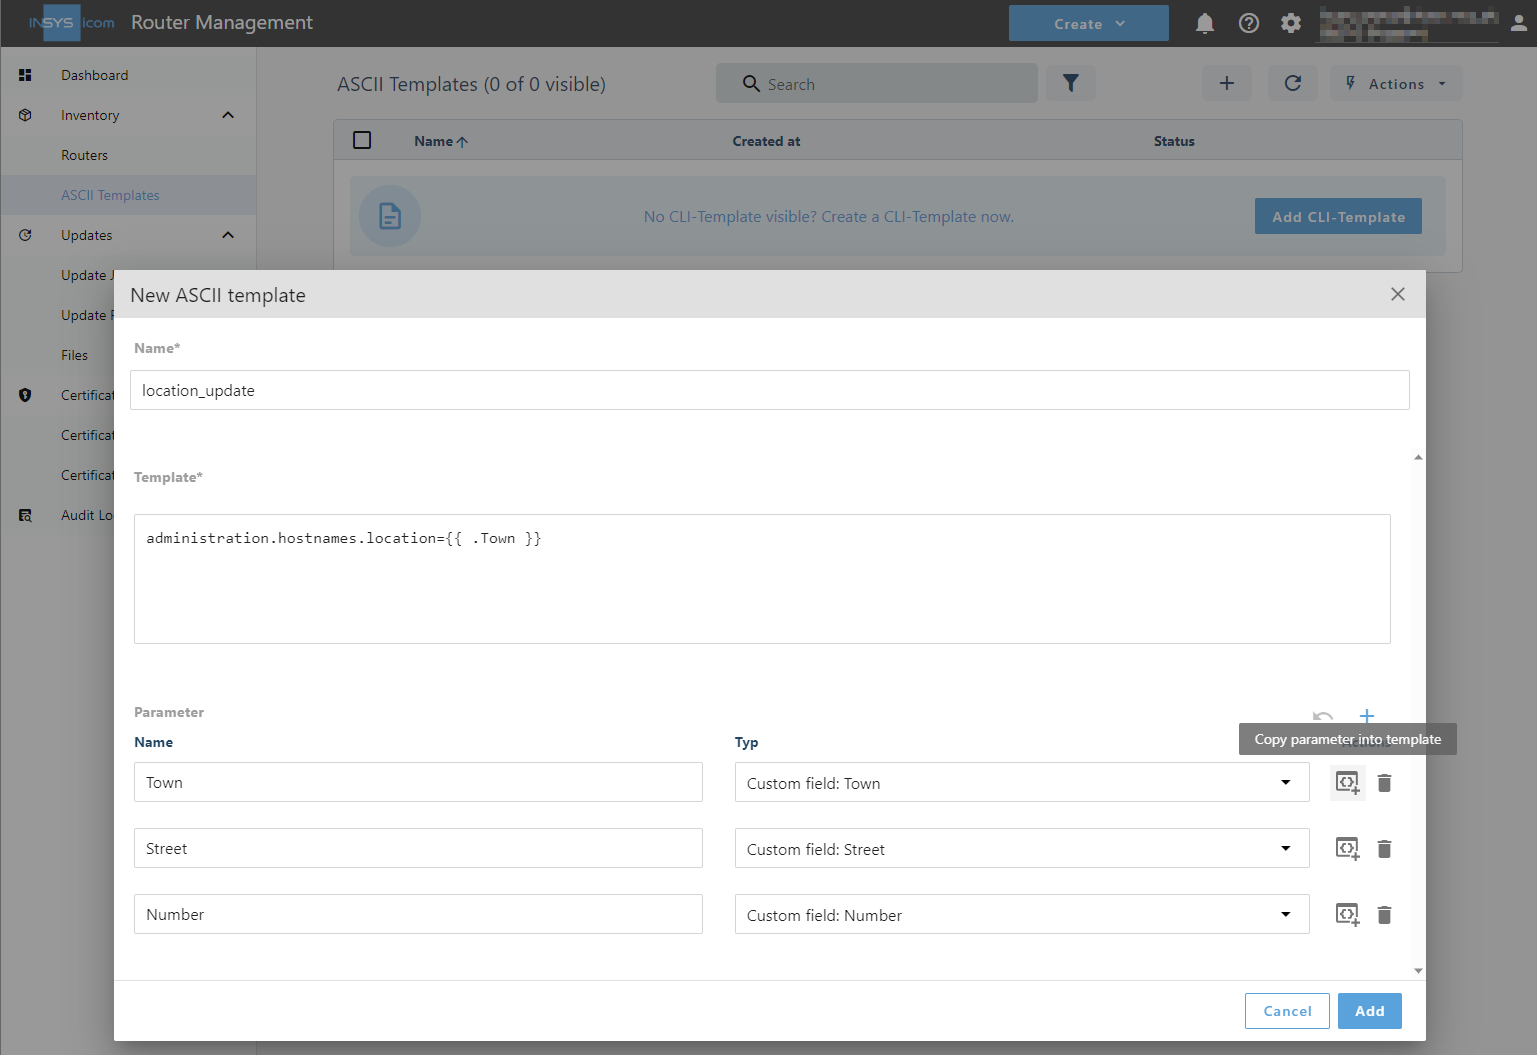
Locate the cursor directly behind the entered command and click behind the parameter for the town on
 Copy parameter into template to insert the variable for the town.
-
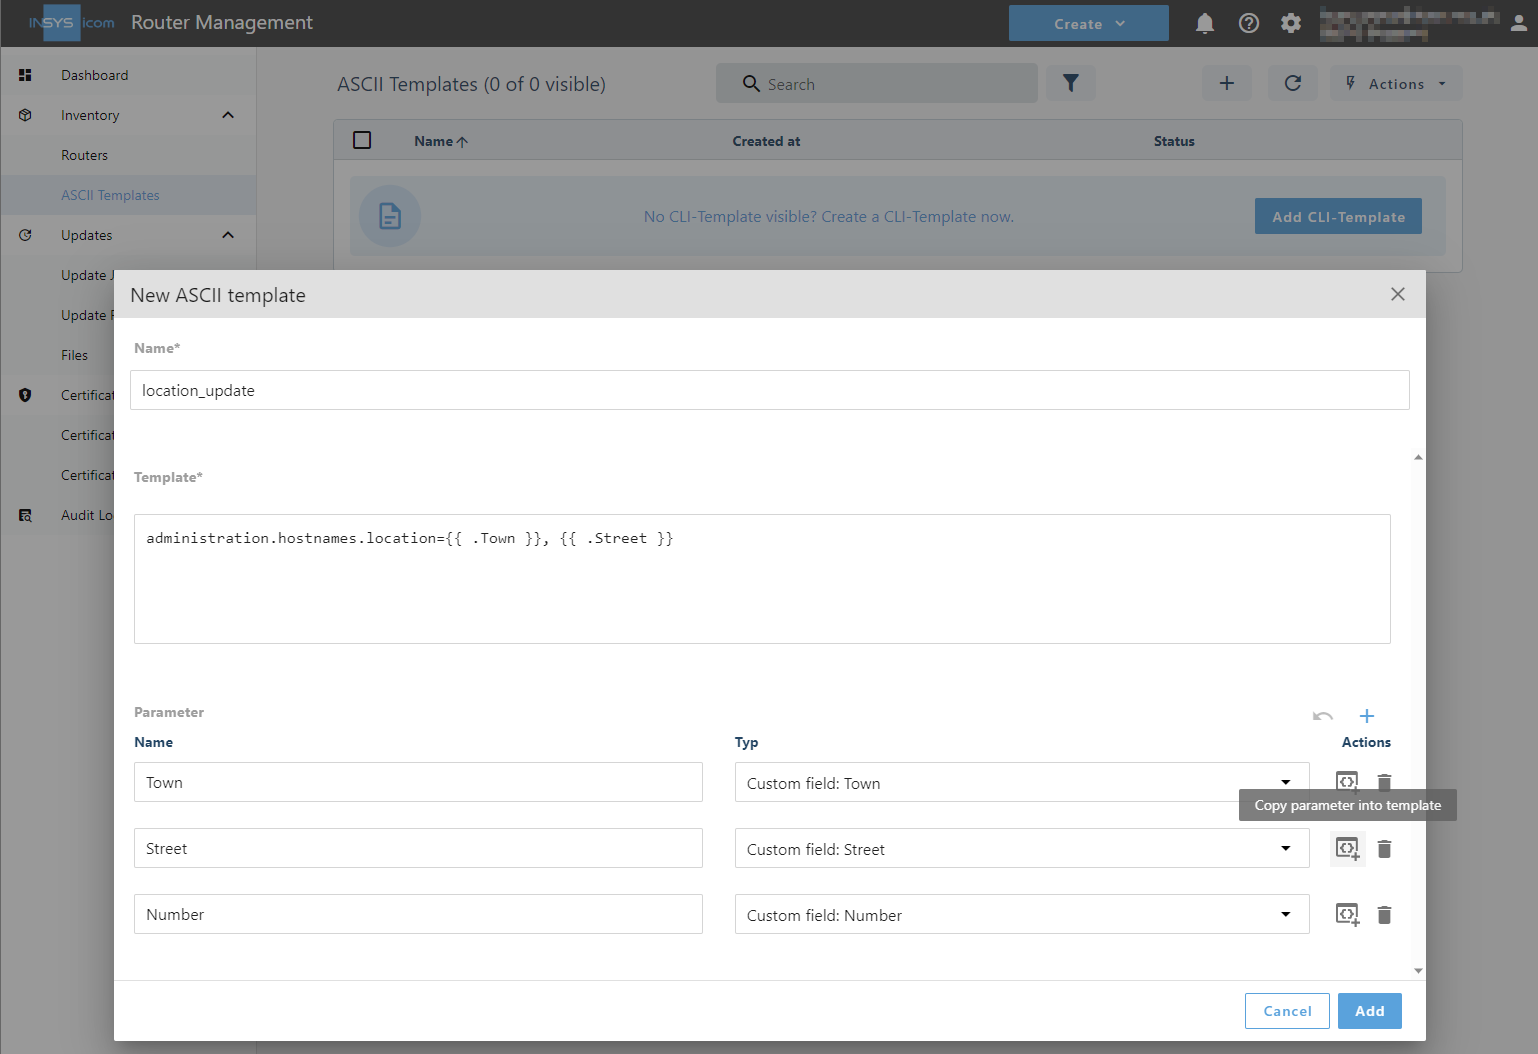
Locate the cursor directly behind the entered parameter, enter a comma and a blank, and click behind the parameter for the street on
Copy parameter into template to insert the variable for the street.
-
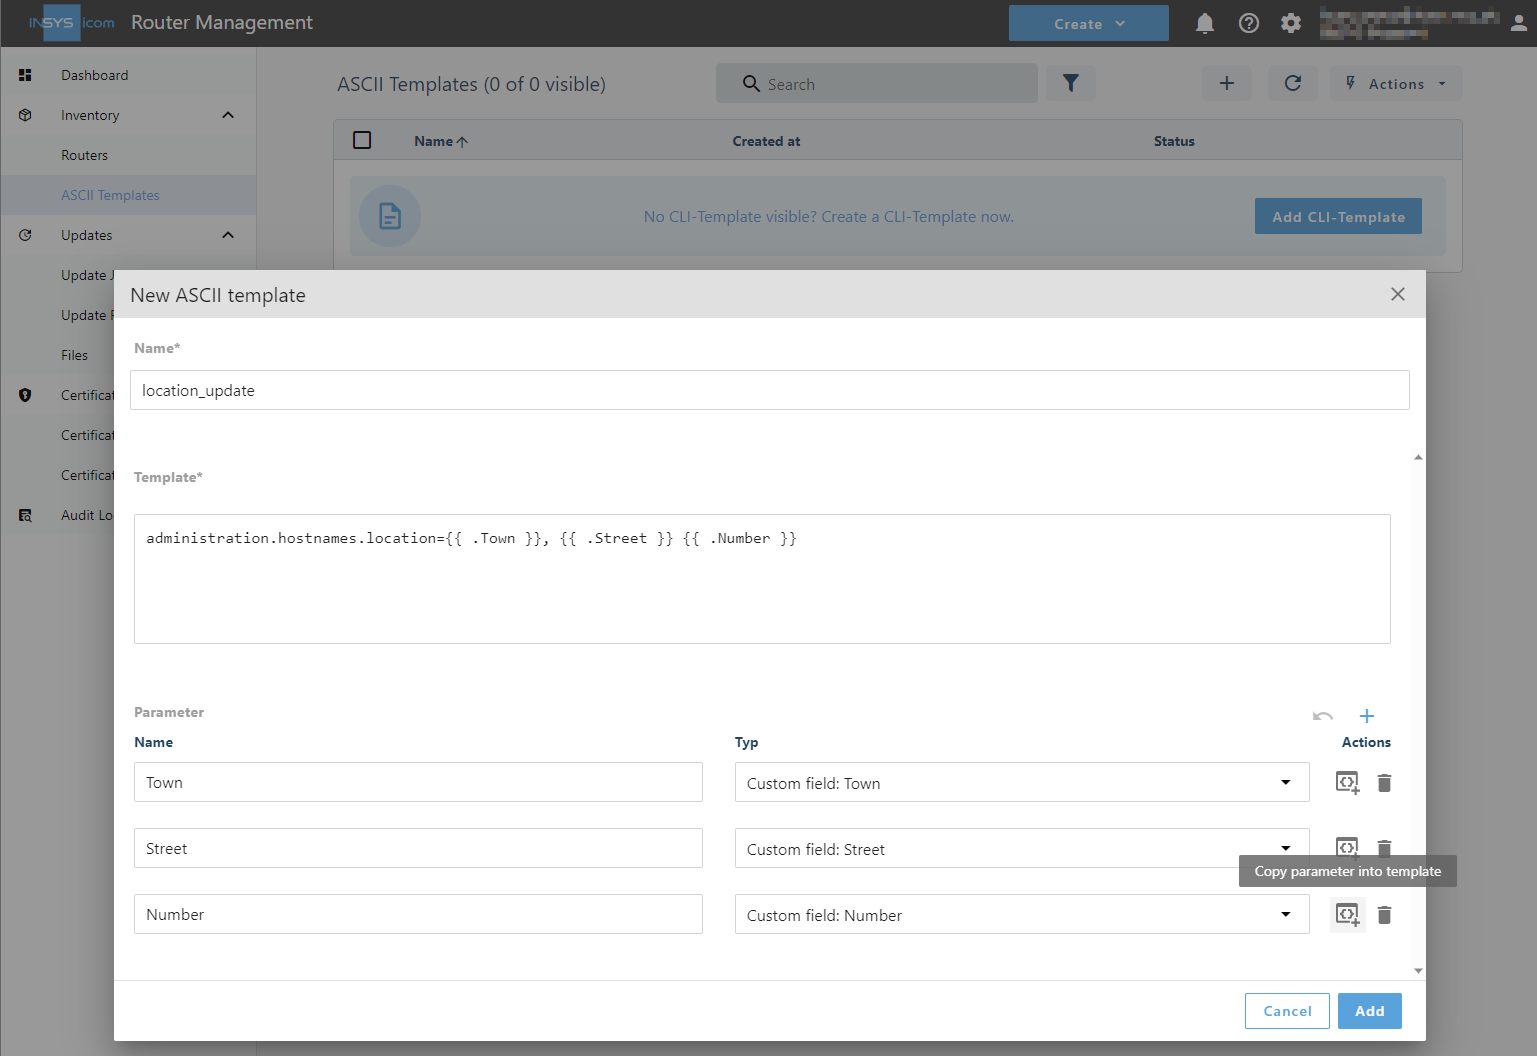
Locate the cursor directly behind the entered parameter, enter a blank, and click behind the parameter for the number on
Copy parameter into template to insert the variable for the number.
-
Enter in the editor in the line below the CLI command for setting the location the CLI command for activating the profile
administration.profiles.activate.
-
Click on Save .
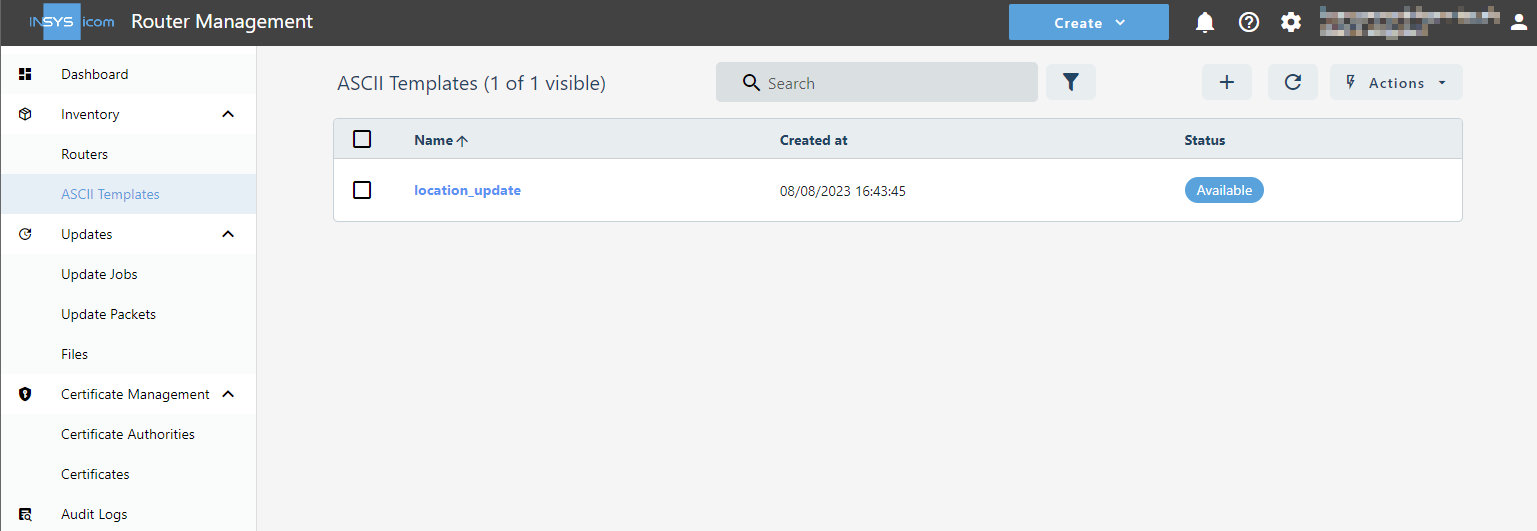
You will see the above added configuration template on the ![]() Inventory → ASCII Templates page.
Inventory → ASCII Templates page.
You have crated the following config change template with this:
administration.hostnames.location={{ .Town }}, {{ .Street }} {{ .Number }}
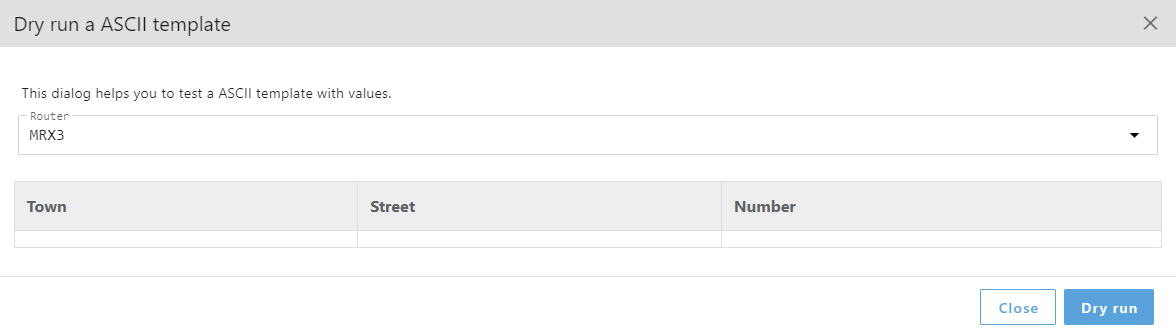
administration.profiles.activateA click on ![]() Actions →
Actions → ![]() Dry run upon checking the configuration template permits to test this.
Dry run upon checking the configuration template permits to test this.

|
|
A dry run requires that valid data must be entered for the respective custom fields, which are used in the configuration template. |
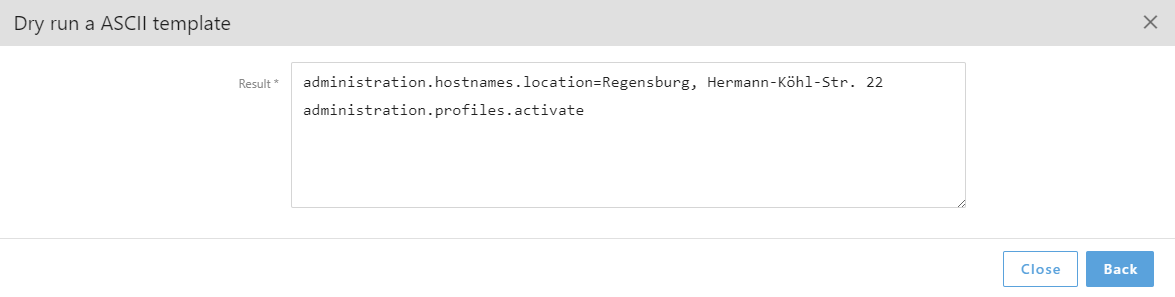
To do this, select the router and click on Dry run .
The configuration file generated from the config change template for this router is displayed.
-
Click on Ok to exit the dry run.
Applying the config change tenmplate to the router(s)
Apply the config change template to the router(s) for which you have defined the location information.
-
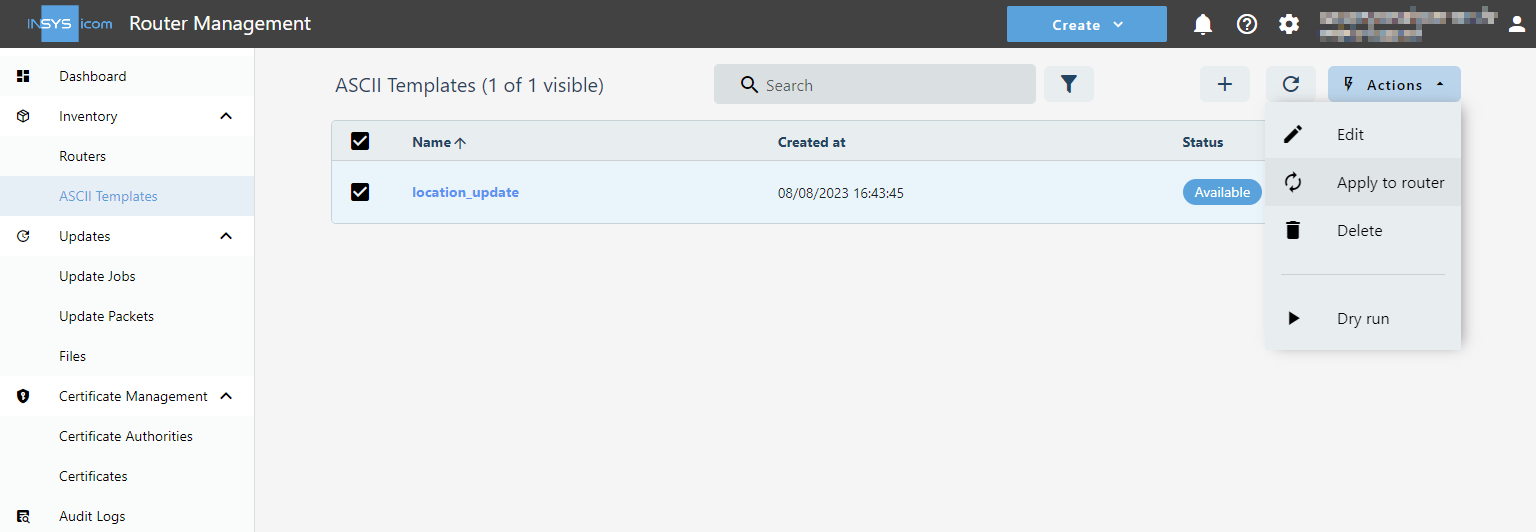
Check on the
Inventory → ASCII Templates page the above created configuration template and click on Actions →  Apply to router.
-
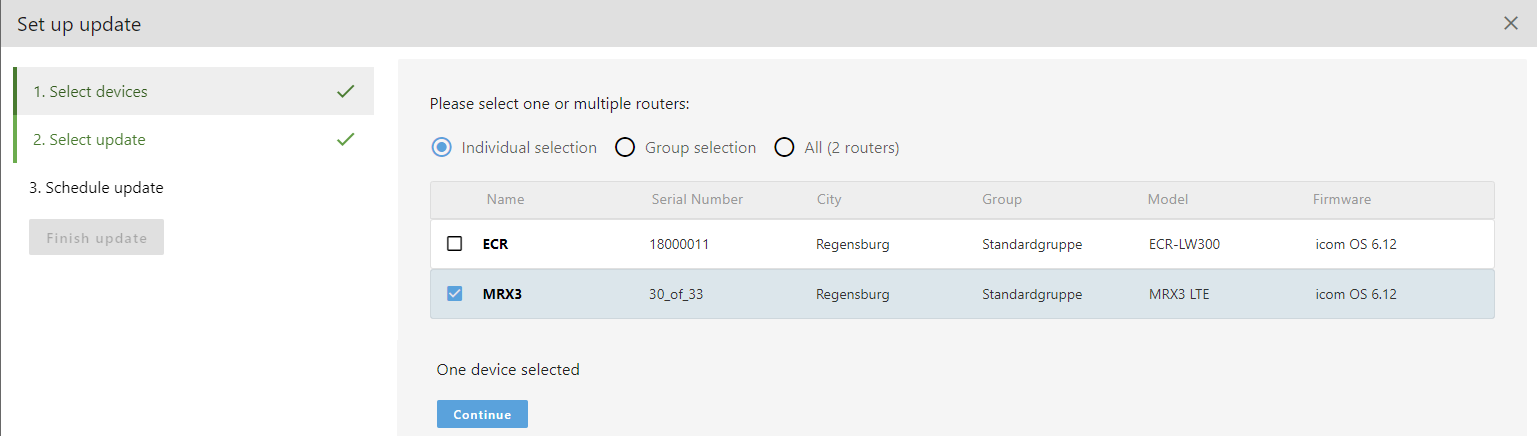
Select the router(s) to which you want to apply the config change template and click on Continue .
-
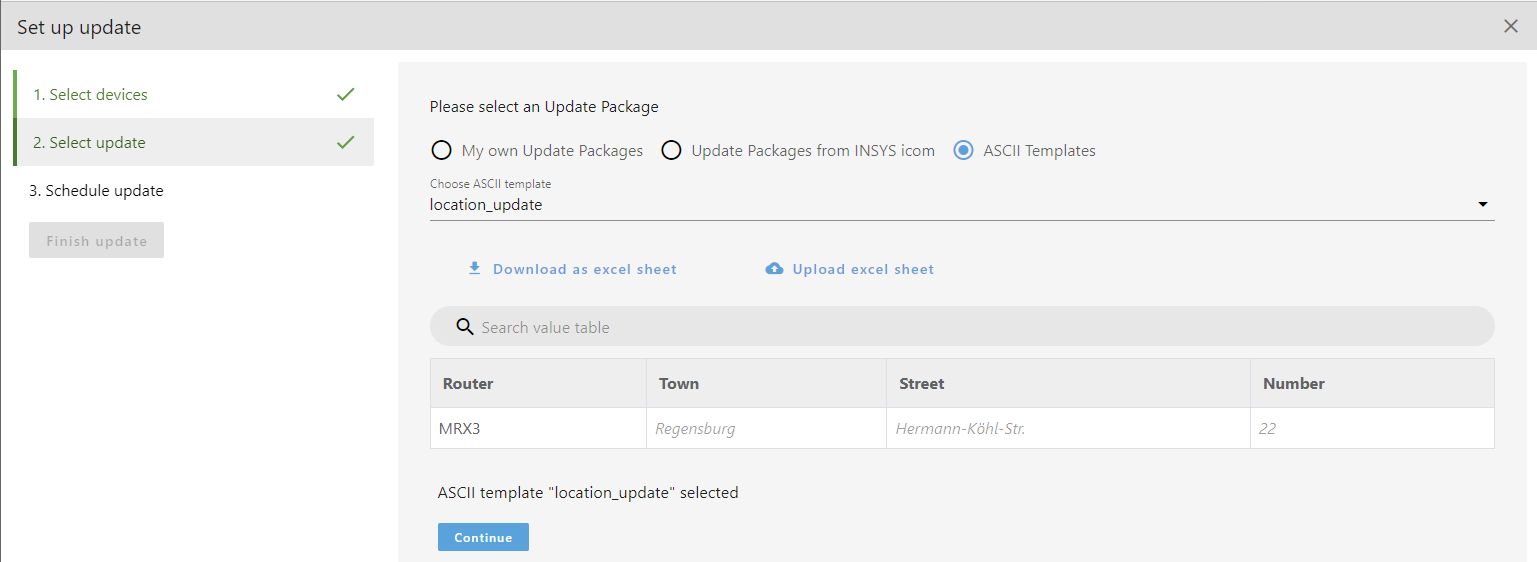
Review the selection of ASCII template (preselected) and router(s) and click on Continue .
-
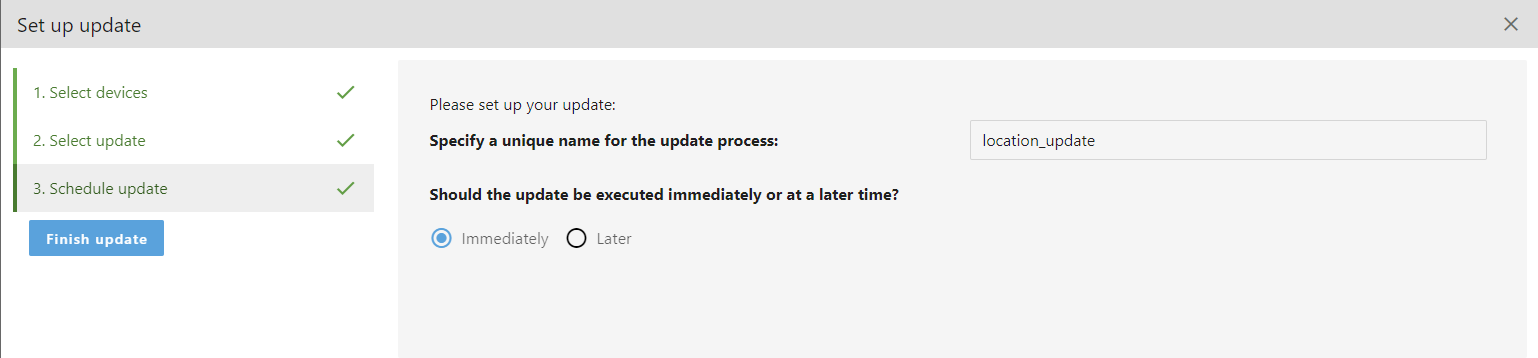
Enter optionally a unique name for the update operation, select the time for the update (here Immediately) and click on Finish update .
-
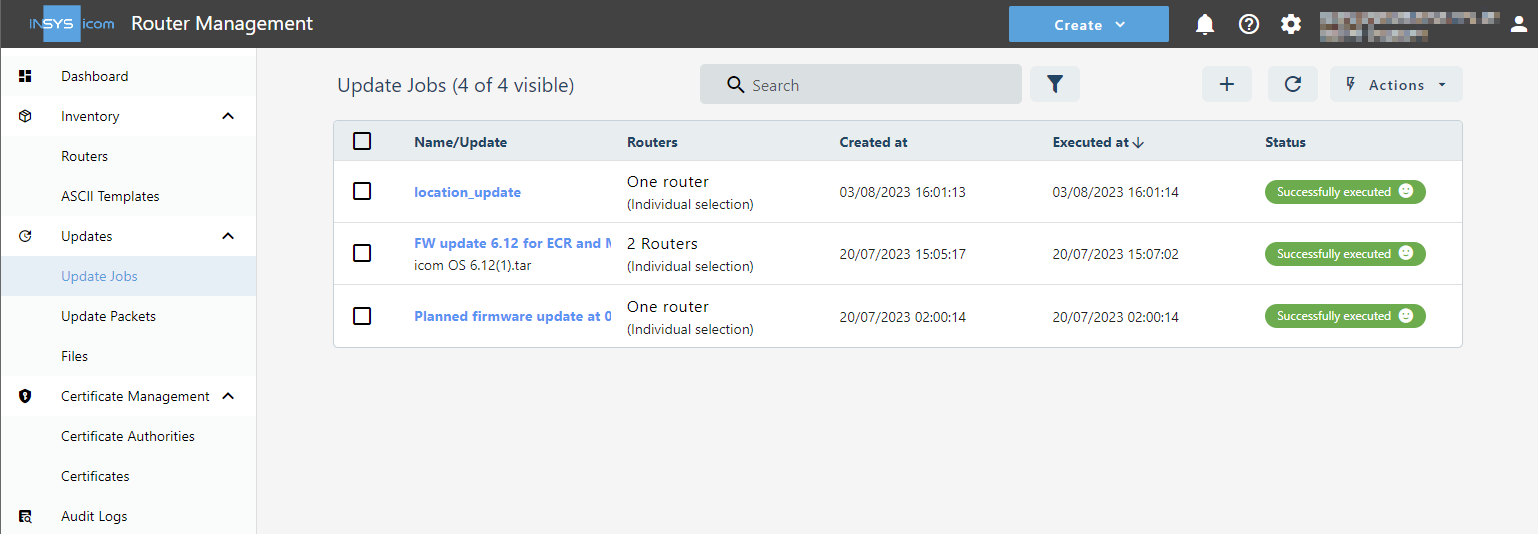
Click on To Update Job view upon successful creation of the update operation.

Result testing
Verify the successful execution of the config change template for the update operation and verify the configuration change on the router.
-
Verify in the Update Job view (
 Updates → Update Jobs menu) whether the update operation has been executed successfully.
-
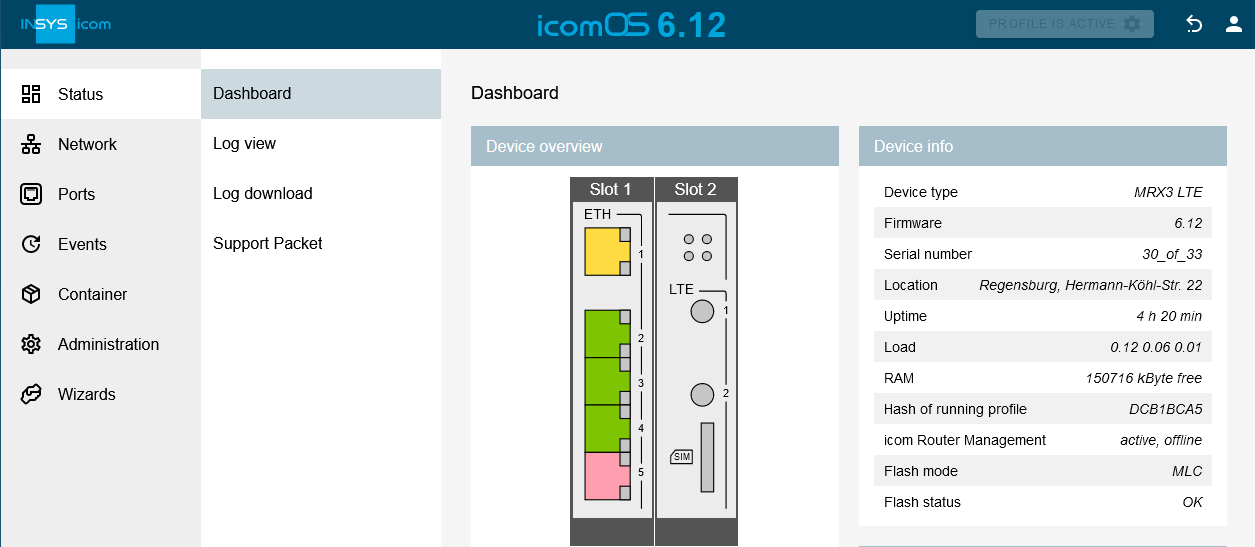
Open the web interface of the router: https://192.168.1.1/ui/index.html [2]
-
Verify on the
 Status → Dashboard page whether the Location in the Device info field has been updated.
|
|
The Location information in the router overview ( |
Tips and Tricks
-
The available CLI commands and their syntax can be determined using the command line interface (CLI). Refer to the Online Help of the router for details.
-
Config change templates also permit to use variables that are prompted when applying the config change template. In this example, it would be possible to add another optional attribute for defining the location to the router.

Troubleshooting
-
In case a page in the icom Router Management shows an unexpected behaviour, an update of the page in the browser using
 Ctrl+F5 helps in many cases.
Back to the Configuration Guides for icom Router Management
Back to overview