This Configuration Guide shows how to create a certificate structure using the tool XCA.
Certificates or a certificate structure are necessary for various router applications including:
-
VPN connections/networks
-
IPsec connections
-
Protected web interface access via HTTPS connections
-
link: Signing and encrypting update packets to ensure their integrity
Situation
You want to set up a VPN network or a protected connection and need a certificate structure for authentication and encryption purposes.
Solution
The following describes how to create a complete certificate structure consisting of CA certificate, server certificate and key, client certificate and key as well as a certificate revocation list (CRL). Depending on your application, you might not need all of them.
It is prerequisite that you have downloaded and installed the XCA tool to your computer. It is also prerequisite that time and date of the PC are correct. [1]
|
|
The generation of a Diffie-Hellman parameter set using XCA (menu File –> Generate DH parameter) is not described here, because a Diffie-Hellman parameter set is already stored on the router and can be downloaded in the |
Preliminary steps
A database must be created first before creating the certificate structure. All keys and certificates of this CA project are stored in this database. The certificate templates help to keep consistency when creating the certificates.
-
To create a database, open XCA and select File → New DataBase (Ctrl+N).
-
Select a suitable directory for the XCA database and enter a file name.
-
Enter a password and click on OK to create the database. [2]
Creating certificate templates
Certificate templates can be used to store common information for all certificates and facilitate certificate creation.
-
To create a CA certificate template, open XCA, change to the Templates tab and click on New Template.
-
Select in the Preset Template values window [default] CA and click on OK.
-
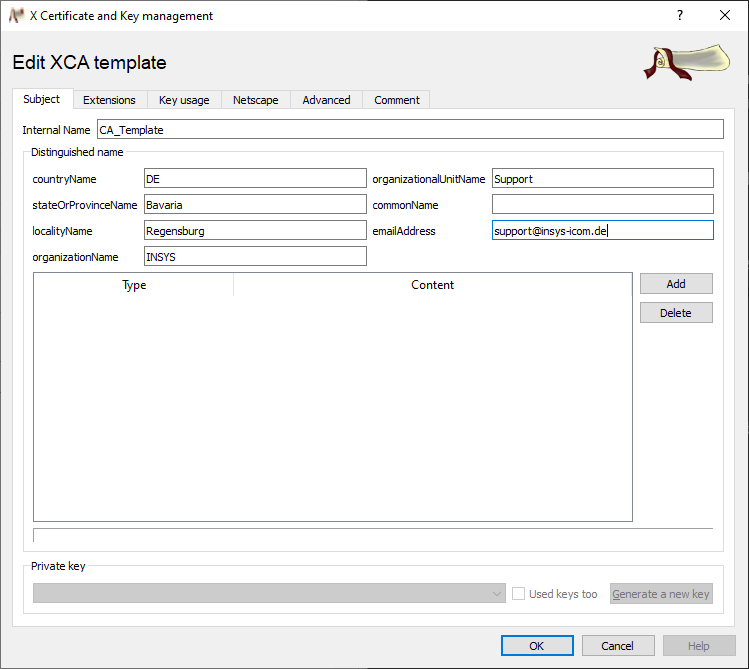
Enter your default values for the CA template without specifying a commonName
-
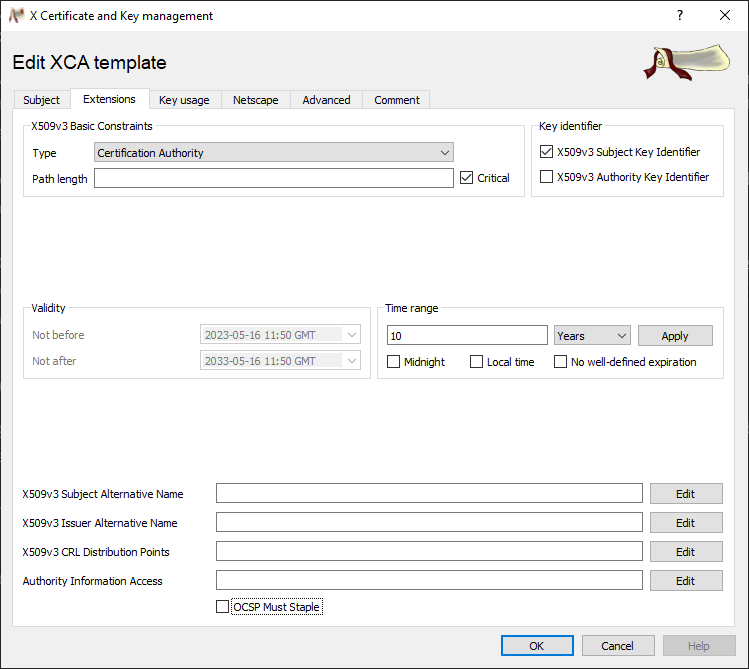
Change to the Extensions tab, adjust the validity period of the certificate by entering a time range, if required, and click on OK. [3]
-
Complete the template creation with OK. [4]
-
Repeat the previous steps accordingly to create a server template and a client template; pay attention to use the templates [default] TLS_client or [default] TLS_server intended for these.
|
|
If you want to create templates for server and client certificates for OpenVPN connections of INSYS routers that have the Check remote certificate type option (remote-cert-tls) enabled, you need to specify an additional extended key usage for these certificates. This key usage is pre-set in the default settings of XCA already. In order to ensure that this key usage is specified, change to the Key usage tab and check whether the key usage TLS Web Server Authentication for server templates or TLS Web Client Authentication for client templates is entered under X509v3 Extended Key Usage. If not, these can be specified on the Key usage tab. |
|
|
If you want to create special templates for certificates that can be used for encrypting or signing update packets for INSYS routers, you need to specify an additional key usage for these certificates. If you want to create these certificates from regular templates, you need to specify the key usage during certificate creation below. In order to specify the key usage, change to the Key usage tab and select the appropriate X509v3 Key Usage. The certificate for encryption must have set the key usage Data Encipherment and the certificate for the signature Digital Signature. This is described in detail in Signing and encrypting an update packet. |
Creating the certificates and keys
You need a Common Name for the certificate generation. The Common Name is the unique member name of a participant in the secured network and is used for routing into the client networks for example. The Common Name must only be used for one participant and cannot be changed any more after the generation. Observe the capitalization for the Common Name and preferably use only one of these possibilities consistently. The maximum length of the Common Name for an INSYS router is 29 characters.
Creating a CA certificate and key
-
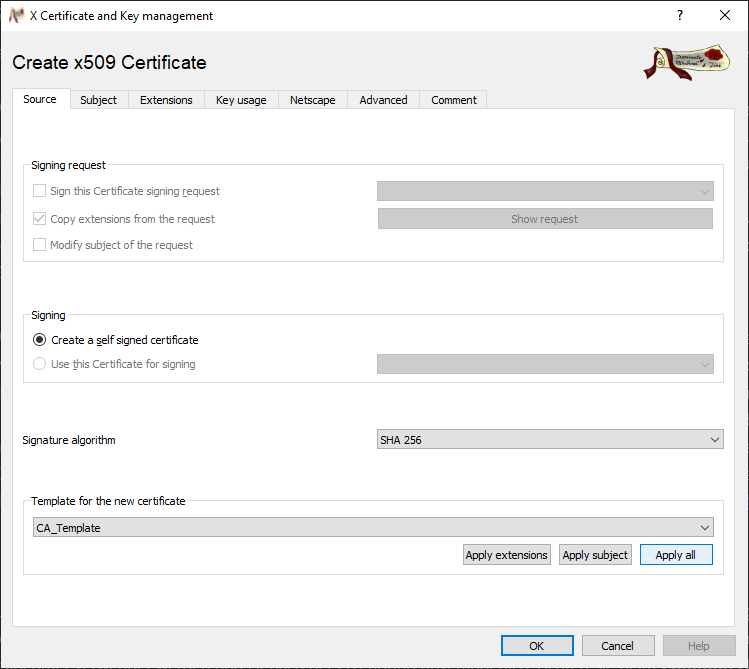
To create a CA certificate and key, change to the Certificates tab and click on New Certificate. [5]
-
Select above created CA template under Template for the new certificate.
-
Click on Apply all to enter the data from the template into the form.
-
Change to the Subject tab, enter the commonName and enter this also as Internal Name.
-
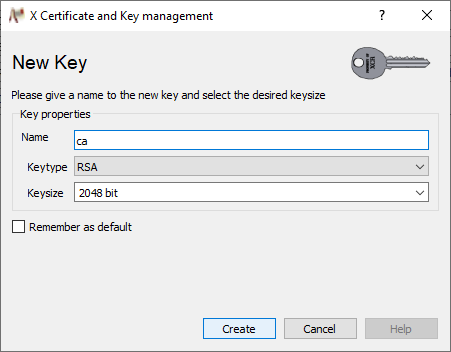
Click on Generate a new key.

-
Preferably use the commonName also as Name and click on Create.
-
Confirm the key creation with OK.
-
Click on OK and confirm again with OK to complete the creation of the CA certificate.
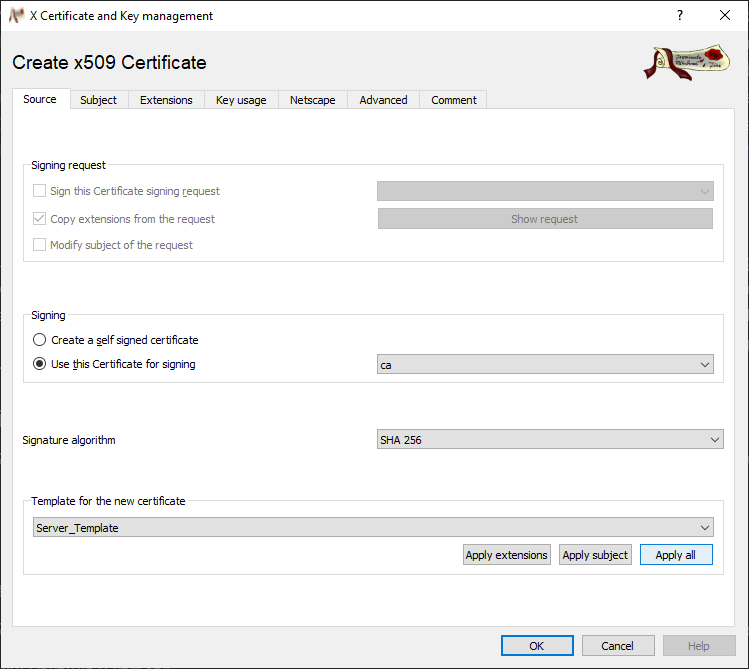
Creating server and client certificates and keys
-
To generate a server certificate and key, change to the Certificates tab and click on New Certificate.
-
Select in the Signing section the Use this Certificate for signing option and select above created CA certificate.
-
Select above created server template under Template for the new certificate.
-
Click on Apply all to enter the data from the template into the form.
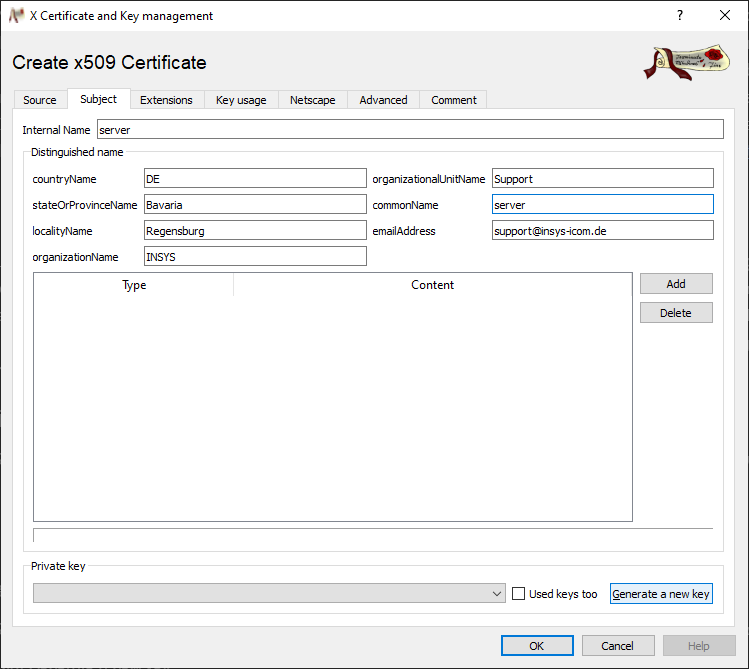
-
Change to the Subject tab, enter the commonName and enter this also as Internal Name.
-
Click on Generate a new key.
-
Preferably use the commonName also as Name and click on Create.
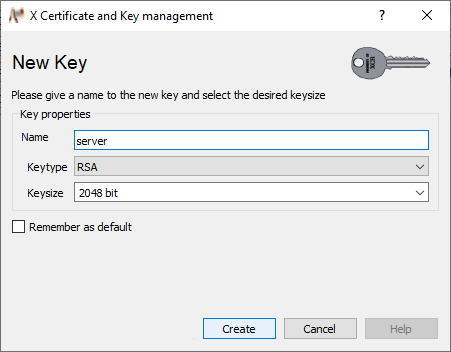
-
Confirm the key creation with OK.
-
Click on OK and confirm again with OK to complete the creation of the server certificate.
-
Repeat the previous steps accordingly to create the necessary number of client certificates.
|
|
Click on the Certificates tab in XCA on |
Exporting the certificates and keys
The certificates and keys created with XCA are stored in the respective XCA database. In order to upload the certificates and keys to the respective routers, browsers, etc., these must be exported. XCA offers different file formats for export. We describe the export to the data format PKCS#12 here, because this is suitable for all INSYS routers. In addition, PKCS#12 allows to export complete key pairs into a container, which reduces the upload effort. Since the certificate chain can also be exported, the CA certificate does not have to be exported separately. A password protection can be applied.
|
|
Never export the CA key, because this is essential for the security of the connection. |
-
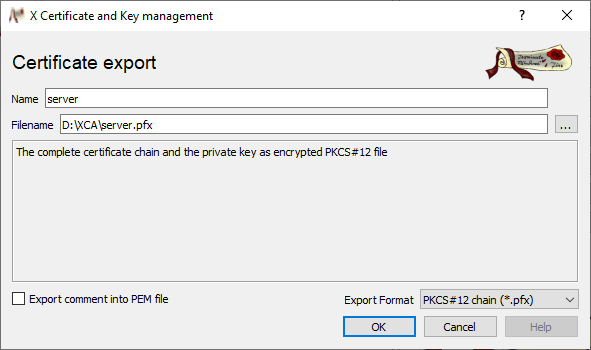
In order to export a certificate and key, change to the Certificates tab, highlight the certificate to be exported in the overview and click on Export.

-
Specify a path and file name in the Certificat export window.
-
Select PKCS#12 chain as Export format and click on OK.
-
If you want to enhance the security of the certificate file transmission, specify in the Password window a password [6] and click on OK to export the certificate. [7]
-
Repeat the previous steps accordingly to export all desired certificates.
Revoking certificates using a CRL
It is possible to create a Certificate Revocation List (CRL) for OpenVPN, which contains the revoked certificates. If certificates have to be revoked before their expiry (due to misuse for example), they can be entered into this list. Every updated list must then be uploaded to the device, which controls access.
-
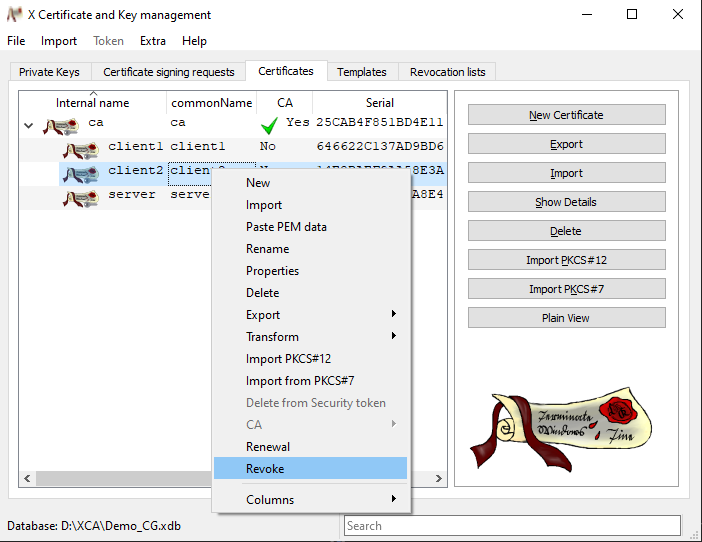
In order to revoke a certificate, change to the Certificates tab, right-click on the certificate to be revoked in the overview and click on Revoke in the context menu.
-
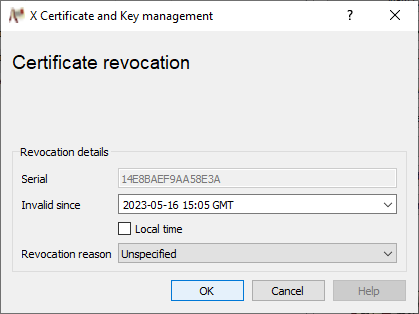
Specify the invalidation time in the Certificate revocation window, enter an optional Revocation reason and click OK to add this certificate to the CRL.
-
In order to create a CRL, change to the Certificates tab, right-click the CA certificate (!) CA
 Generate CRL.

-
Click In the Generate CRL window on OK to create the CRL.

-
Confirm the CRL creation with OK. [8]
-
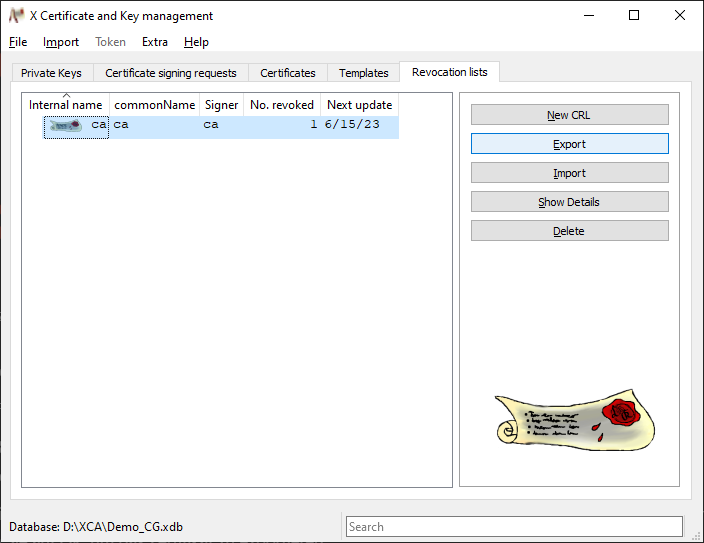
In order to export a CRL, change to the Revocation lists tab, highlight the CRL to be exported in the overview and click on Export.
-
Specify a path and file name in the Revocation list export window.
-
Select PEM as Export format and click on OK to export the CRL.

Troubleshooting
-
Check the system time and date of the computer to ensure the certificates are created with the actual date; otherwise they might be invalid.
Back to the Configuration Guides for INSYS routers
Back to overview